
Growing Potatoes
WHEN TO PLANT
Potatoes can be planted as soon as the ground can be worked in early spring, but you have to use good judgement. Potato plants will not begin to grow until the soil temperature has reached 45 degrees F. The soil should be evenly moist, but not wet or soggy. If the soil is water logged when you dig, not only will you risk “caking” the soil, your seed potatoes will probably rot before they get started. Potatoes can tolerate a light frost, but you should provide some frost protection for plants when they are young. This can be done with a floating row cover or a loose covering of straw. If you plan to store potatoes through the winter, you can plant a second crop as late as June 15.
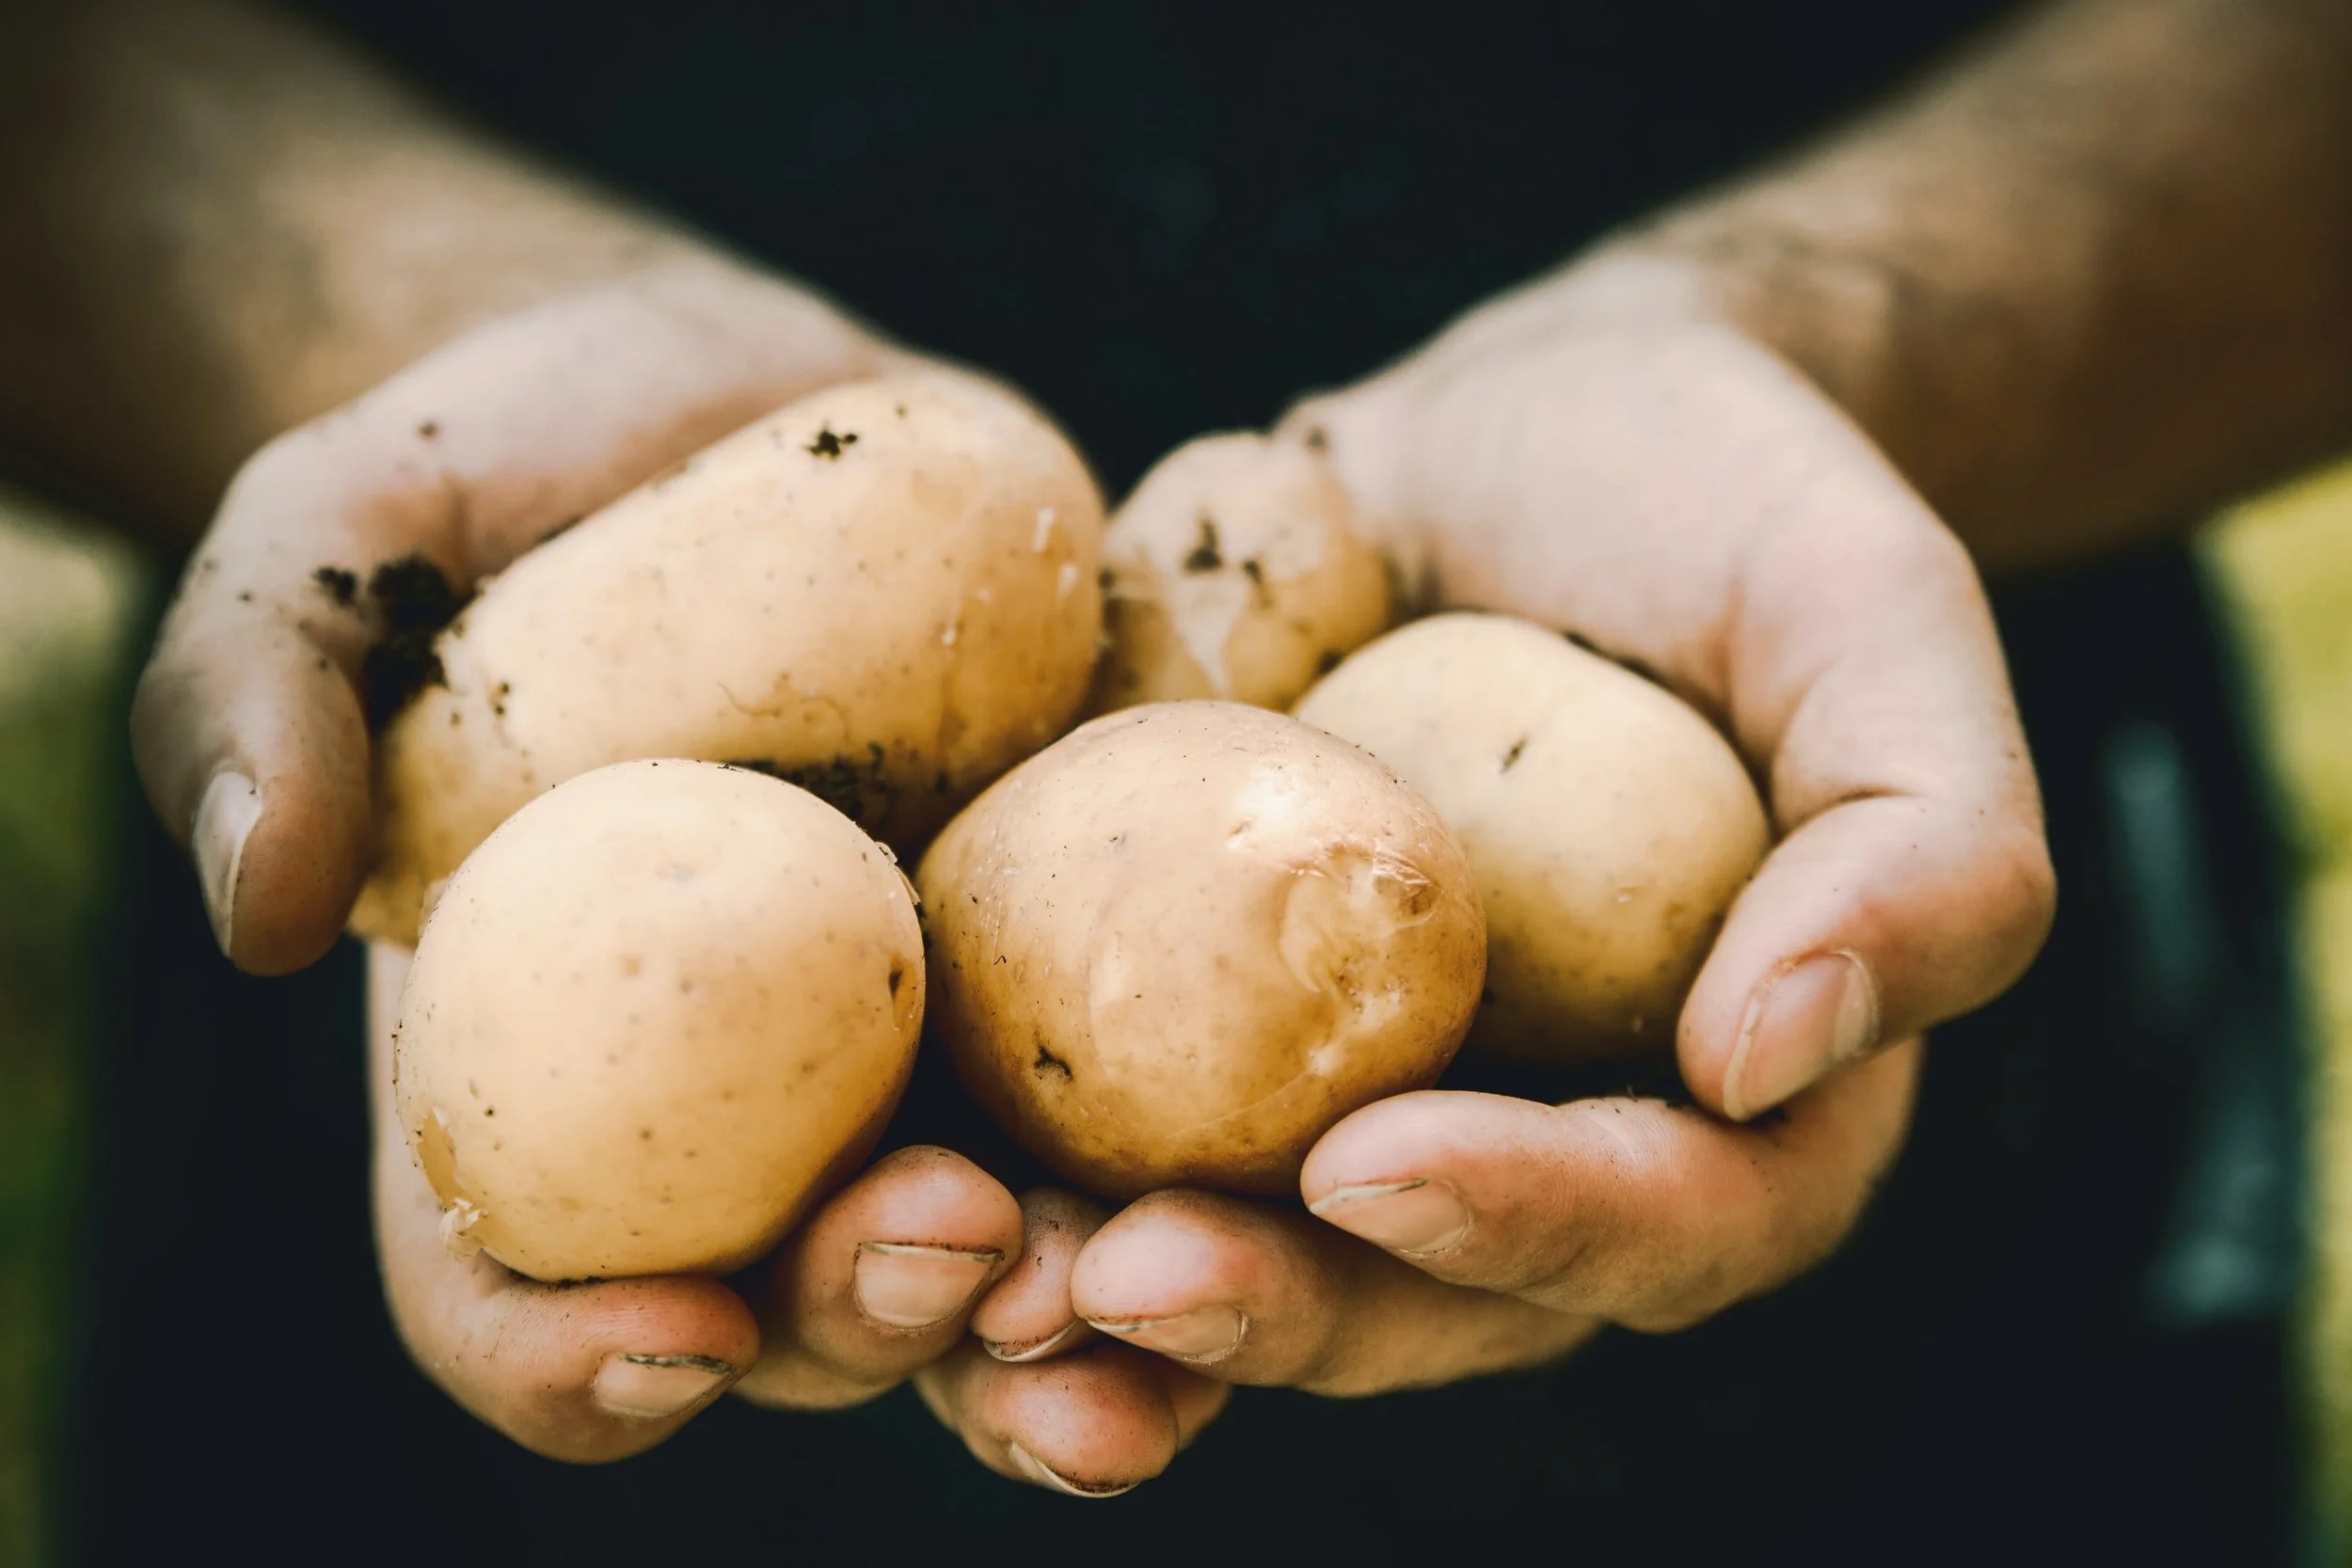
USE ONLY CERTIFIED SEED POTATOES
Potatoes are susceptible to several serious diseases. Even though the potatoes you saved from the previous year, or the potatoes you see in the supermarket, appear healthy, they should not be used for your seed. Certified seed potatoes are disease free, and have been selected to give you the best result with the highest yields. Certified seed potatoes are available at most quality nurseries and garden centers. There are several different varieties of potatoes to choose from, each with its own characteristics and qualities.
PREPARING SEED FOR PLANTING
A week or two before your planned potato planting date, set your seed potatoes somewhere where they will be exposed to some warmth (between 60 and 70 degrees F) and lots of light. This will encourage them to sprout. A day or two before planting, use a sharp, clean knife to slice the larger seed potatoes into “seeds.” Each seed should be approximately 1-1/2” square, and must contain at least 1 or 2 “eyes” or buds. Smaller potatoes may be planted whole. In the next day or so, your seed will form a thick callous over the cuts, which will help to prevent it from rotting once planted.
SOIL PREPARATION
Traditionally, potatoes are grown in rows. The potato seeds are planted every 15,” with the rows spaced 2-1/2 to 3 feet apart. If space is limited or you would only like to grow a small crop of potatoes, you may prefer to plant one or two potato mounds. With either method, the first step is to cultivate and turn the soil one last time before planting, removing weeds, rocks and debris. Your plants will benefit from the addition of compost, well-composted manure and other organic material to the soil. HOWEVER, too much organic material can increase the chances of potato scab, a bacterial infection. To reduce the likelihood of this, mix the organic matter into the soil below the potato seed, where it will feed the roots, but not contact the newly forming potatoes.
PLANTING IN ROWS
Dig a shallow trench about 4” wide and 6 – 8” deep. Place your seeds 15” apart, “eyes” up and cover them with 3 -4” of soil. Don’t fill the trench completely. Depending on soil temperature, the sprouts will begin to emerge in about 2 weeks. At that time, add another 3 – 4” of soil. Your crop of potatoes will form between the seed piece and the surface of the soil. For this reason, when the stems are about 8” high, you once again add enough soil to bring the level half way up the stem of the plant. Another “hilling” will be needed 2-3 weeks later, at which time you again add soil half way up the stem of the plant. After these initial hillings, it is only necessary to add an inch or two of soil to the hill each week or so, to ensure there is enough soil above the forming potatoes so that they don’t push out of the hill and get exposed to light. This will cause them to turn green – this green portion is toxic!
MOUND PLANTING
The basic procedure for planting potatoes in mounds is the same as for planting in row. The difference is that you can grow your crop in a more confined area, or take advantage of an otherwise unused area of the garden. Cultivate and loosen the soil where your mound will be. Designate the approximate perimeter of your planting circle (3-4’ in diameter). Space 6-8 potato seeds evenly around the circle and cover with an initial 4” of soil. Continue with the same procedure as planting in rows.
WATERING AND CARE
For the maximum crop, keep your vines well watered through summer, especially during the period when they are in flower and immediately after. This is the time when tubers are forming and water is critical. Water early in the day, so foliage will dry out before evening. This will reduce the chance of certain fungal diseases. When foliage turns yellow and dies back, discontinue watering to allow the tubers to “mature” for a week or two before harvesting.
HARVEST
You may begin to harvest potatoes 2 – 3 weeks after the plants have finished flowering. Don’t dig up the entire plant or you’ll only have “baby” potatoes. Loosen the soil, reach under the plant and remove the largest tubers, leaving the smaller ones to continue growing. If you want late potatoes for storage, wait 2 -3 weeks after the foliage dies back.
If the weather is dry, allow potatoes to lay on the soil surface, unwashed, for 2-3 days so they can dry. If the weather is wet, or rain is expected, move the harvest to a cool, dry area (like a garage or basement) for the drying period. This step is necessary to mature the potato skin, which will protect the potato during storage.
If by the end of September, the plants have not begun to die back, all of the foliage should be cut off to ensure the crop has ample time to mature before winter. Store your harvested potatoes in a well-ventilated, dark, cool (about 40 degrees F) location. Properly dried and stored potatoes should keep well for three to six months.
Don’t grow potatoes in the same soil more than once in three years. Many diseases and insect pests will survive and remain in this area, in spite of your best sanitation efforts.